Hellas-Express


ex Balkanmodels Forum

Z6 Gags-v from Lok Schlosserei/Construction topic

Part 6: Main Body

Postby Andreas » Fri Apr 01, 2016 9:13 pm

Tonight I continue with the main body. After removing the main body part from the etch I folded it carefully according to the instructions. Fairly strainforward. What I did not fold yet are the handrails and the positioning lungs on the inside because I needed it flat to solder more easily.

20160328_200507.jpg
The folded body part.


Then I started soldering. Here the soldering must be done with extreme precision and most of all with minimum amounts. You can see that at one or two spots I have exagarated a little bit and it needed quite cleaning up. Well...the second one will be better. With red circles I have marked the solder joints I did on the construstions from the forward and back side. I slightly modified the instructions and by adding the shutters at this point because it was much easier to solder them. If you glue the wagon you can go according to the instructions. What I havent circled is the three solder joints on the inside of the doors. I soldered the two vertical sides and the top. It took all in all about 1.5 hours to fold, solder and clean up the piece.

20160401_204532.jpg
The soldered front side with the joints before cleaning up.


20160401_204547.jpg
The soldered back side with the joints before cleaning up.


Hope you like it.

Cheers
Andreas
User avatar
Andreas
 
Posts: 353
Joined: Tue Jun 11, 2013 3:29 pm
Location: Somewhere in Europe

Part 7: Fixing points of the Body to the underframe

Postby Andreas » Sun Apr 10, 2016 10:26 am

Hi too all,

I haven´t posted in the construction topic for 10 days now but this does not mean that I have been idle. I try to move on with the limited time that I currently have due to work commitments abroad.

I will continue with a topic that is not handled in the instructions but is a modification that I wanted to have. In the instructions it is remarked that the body is fixed to the underframe with superglue. Personally I am not so fond of such an idea and instead of glueing both together I decided to fix them 12BA cheese head brass screws and nuts. I did this after folding and soldering the body together and I was kind of complicated but for the next four wagons I will do it in a more easier manner before I fold the body.

So the procedure to be used for the rest of the wagons is the following.

Before or after soldering the 6 roof formers, open 4 holes in the lungs that are in the red circle. I used 12BA screws because I just had them handy on stock and they need a hole of about 1,2mm. Do not try to open the hole at that size directly but start with a smaller diameter. Drilling big holes on thin sheets of metal have the tendency to snap the sheet and highly probable damage it. I opened the hole with 0,5 then 0,8mm with an archimedean drill and I adjusted the hole with a tapered broach. Be careful not to drill the outer surface of the wagon!!!!! Also when you solder the nut use a toothpick with a little bit of oil and hold the nut in place. The oil passed through the thread will prevent the solder getting in there!

20160403_133300.jpg
The red circles indicate the lungs and the red dots the approximate drilling points.


Then solder the 12BA nut on the upper surface of the lung, looking towards the roof. After folding the body and finishing with that, place it on the underframe and mark with holes to be opened on the frame.drill the holes in the same way as in the lungs.

20160409_132757.jpg
The finished arrangement


20160409_132824.jpg
Here you can see the whole picture.


You need to be really accurate in finding the holes for the chassis. You can do that with a bend paperclip with a small dip of paing and you pass the whole thing from the nut and the paint touches the underframe and marks the spot.

20160409_133552.jpg
The finished arrangement. It is quite concelead under the bogies.


Hope you liked it.

Cheers
Andreas
User avatar
Andreas
 
Posts: 353
Joined: Tue Jun 11, 2013 3:29 pm
Location: Somewhere in Europe

Part 8: Folding and soldering the body

Postby Andreas » Sun Apr 10, 2016 10:55 am

The next installment of the construction is also here. Folding the body and soldering it. I had a conversation with Bernd Schlosser and he expressed his doubts that the body could be soldered as I would probably burn my fingers. I took my time to examine the part and figure out a plan how to do it and I managed it, actually quite easy. It took me 2 hours to fold and solder one body.

So...now to the procedure.

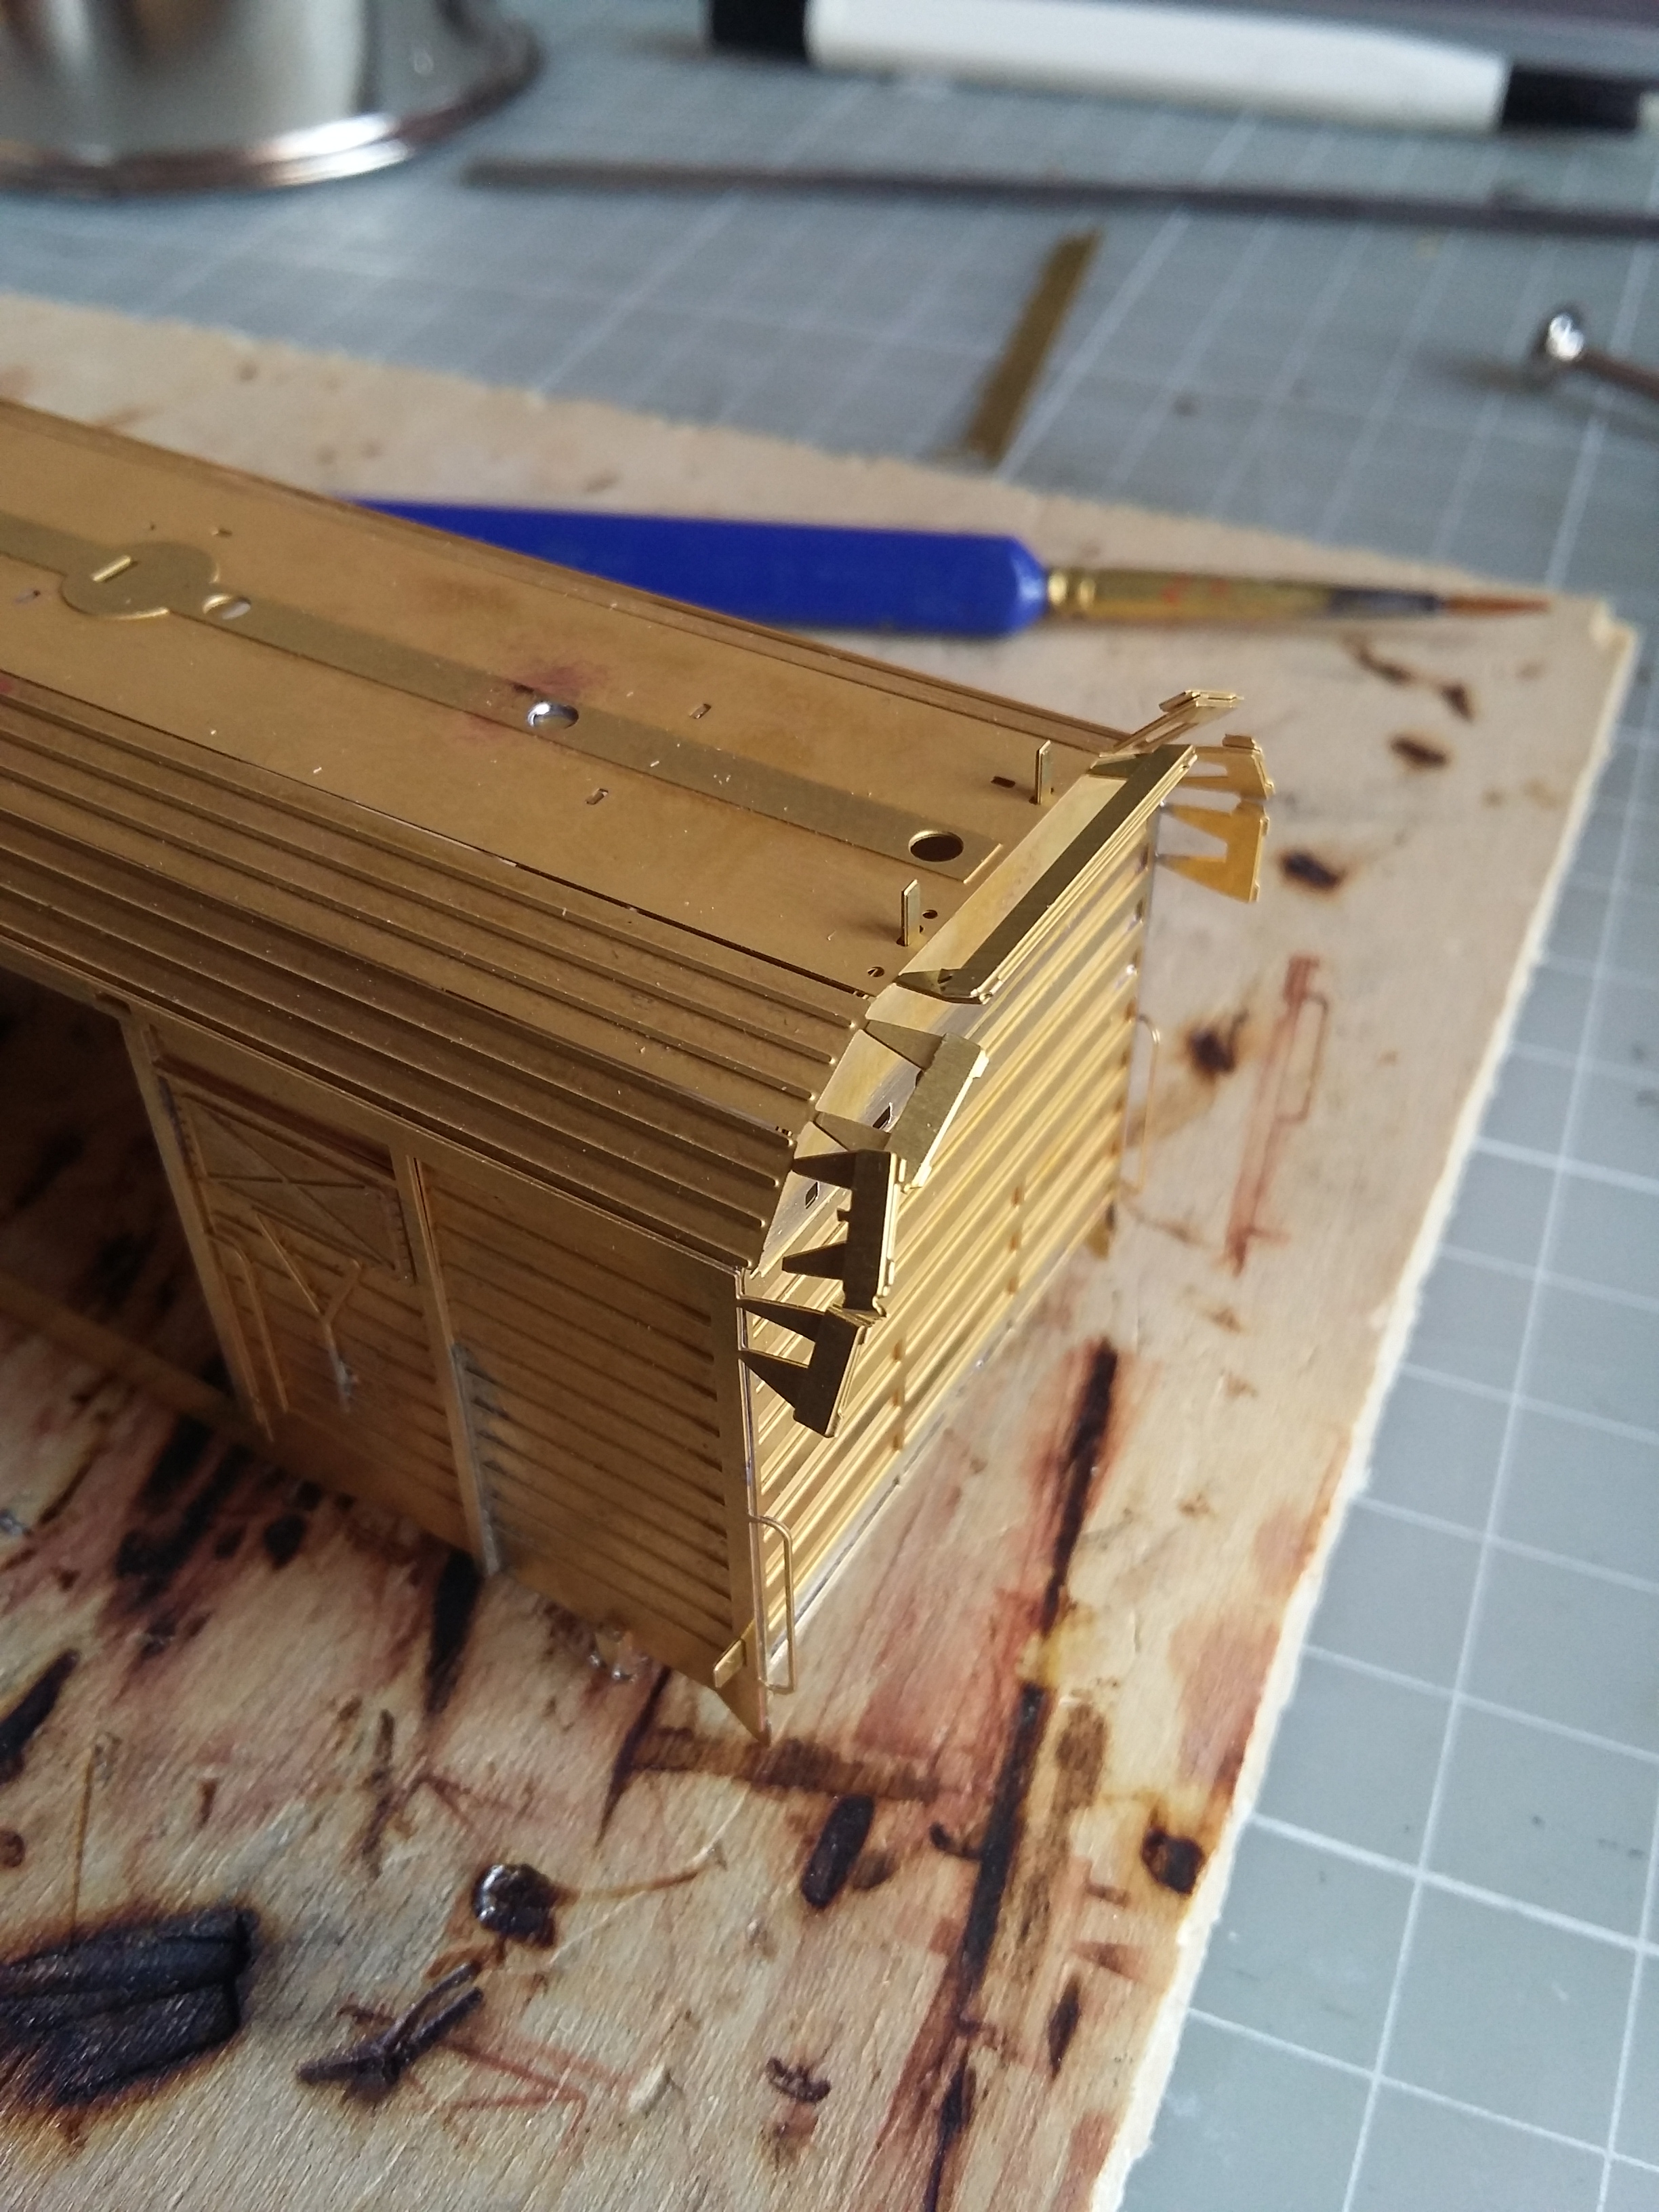
You have to solder first the roof formers. I made one small modification and that is the two lungs that each has for attaching it to the roof were shortened at this point to be flus with the roof because it would be easier now than later.....The second thing to take care it to place the formers as good as possible on the centerline of the wagon so that you dont get deviations and "waves" on the roof sheeting.

20160403_133300.jpg


The I folded the help beam to strengthen the folding help as marked in the instructions.

20160403_133536.jpg


Then I worked one bend after the other. I made the first bend of the roof, kept it with my fingers tight so that I dont get any gaps. I solderd only the four middle formers the roof elements and I let the outer ones unsoldered so that I can insert the end walls of the wagon and to reduce the gaps after removing the folding help. I only worked one surface at a time, finished and then folded, soldered and moved on to the next one.

When I finished all six surfaces (2 roof bends on each side and the wagon walls) I removed the folding help, inserted the end walls and soldered up the outer roof formers and the rest.

20160403_140248.jpg
Removing the folding help, inserting the ends and soldering everything up.


The finished body...now I need to do the detailing and clean it up.

20160403_143636.jpg


20160403_143645.jpg
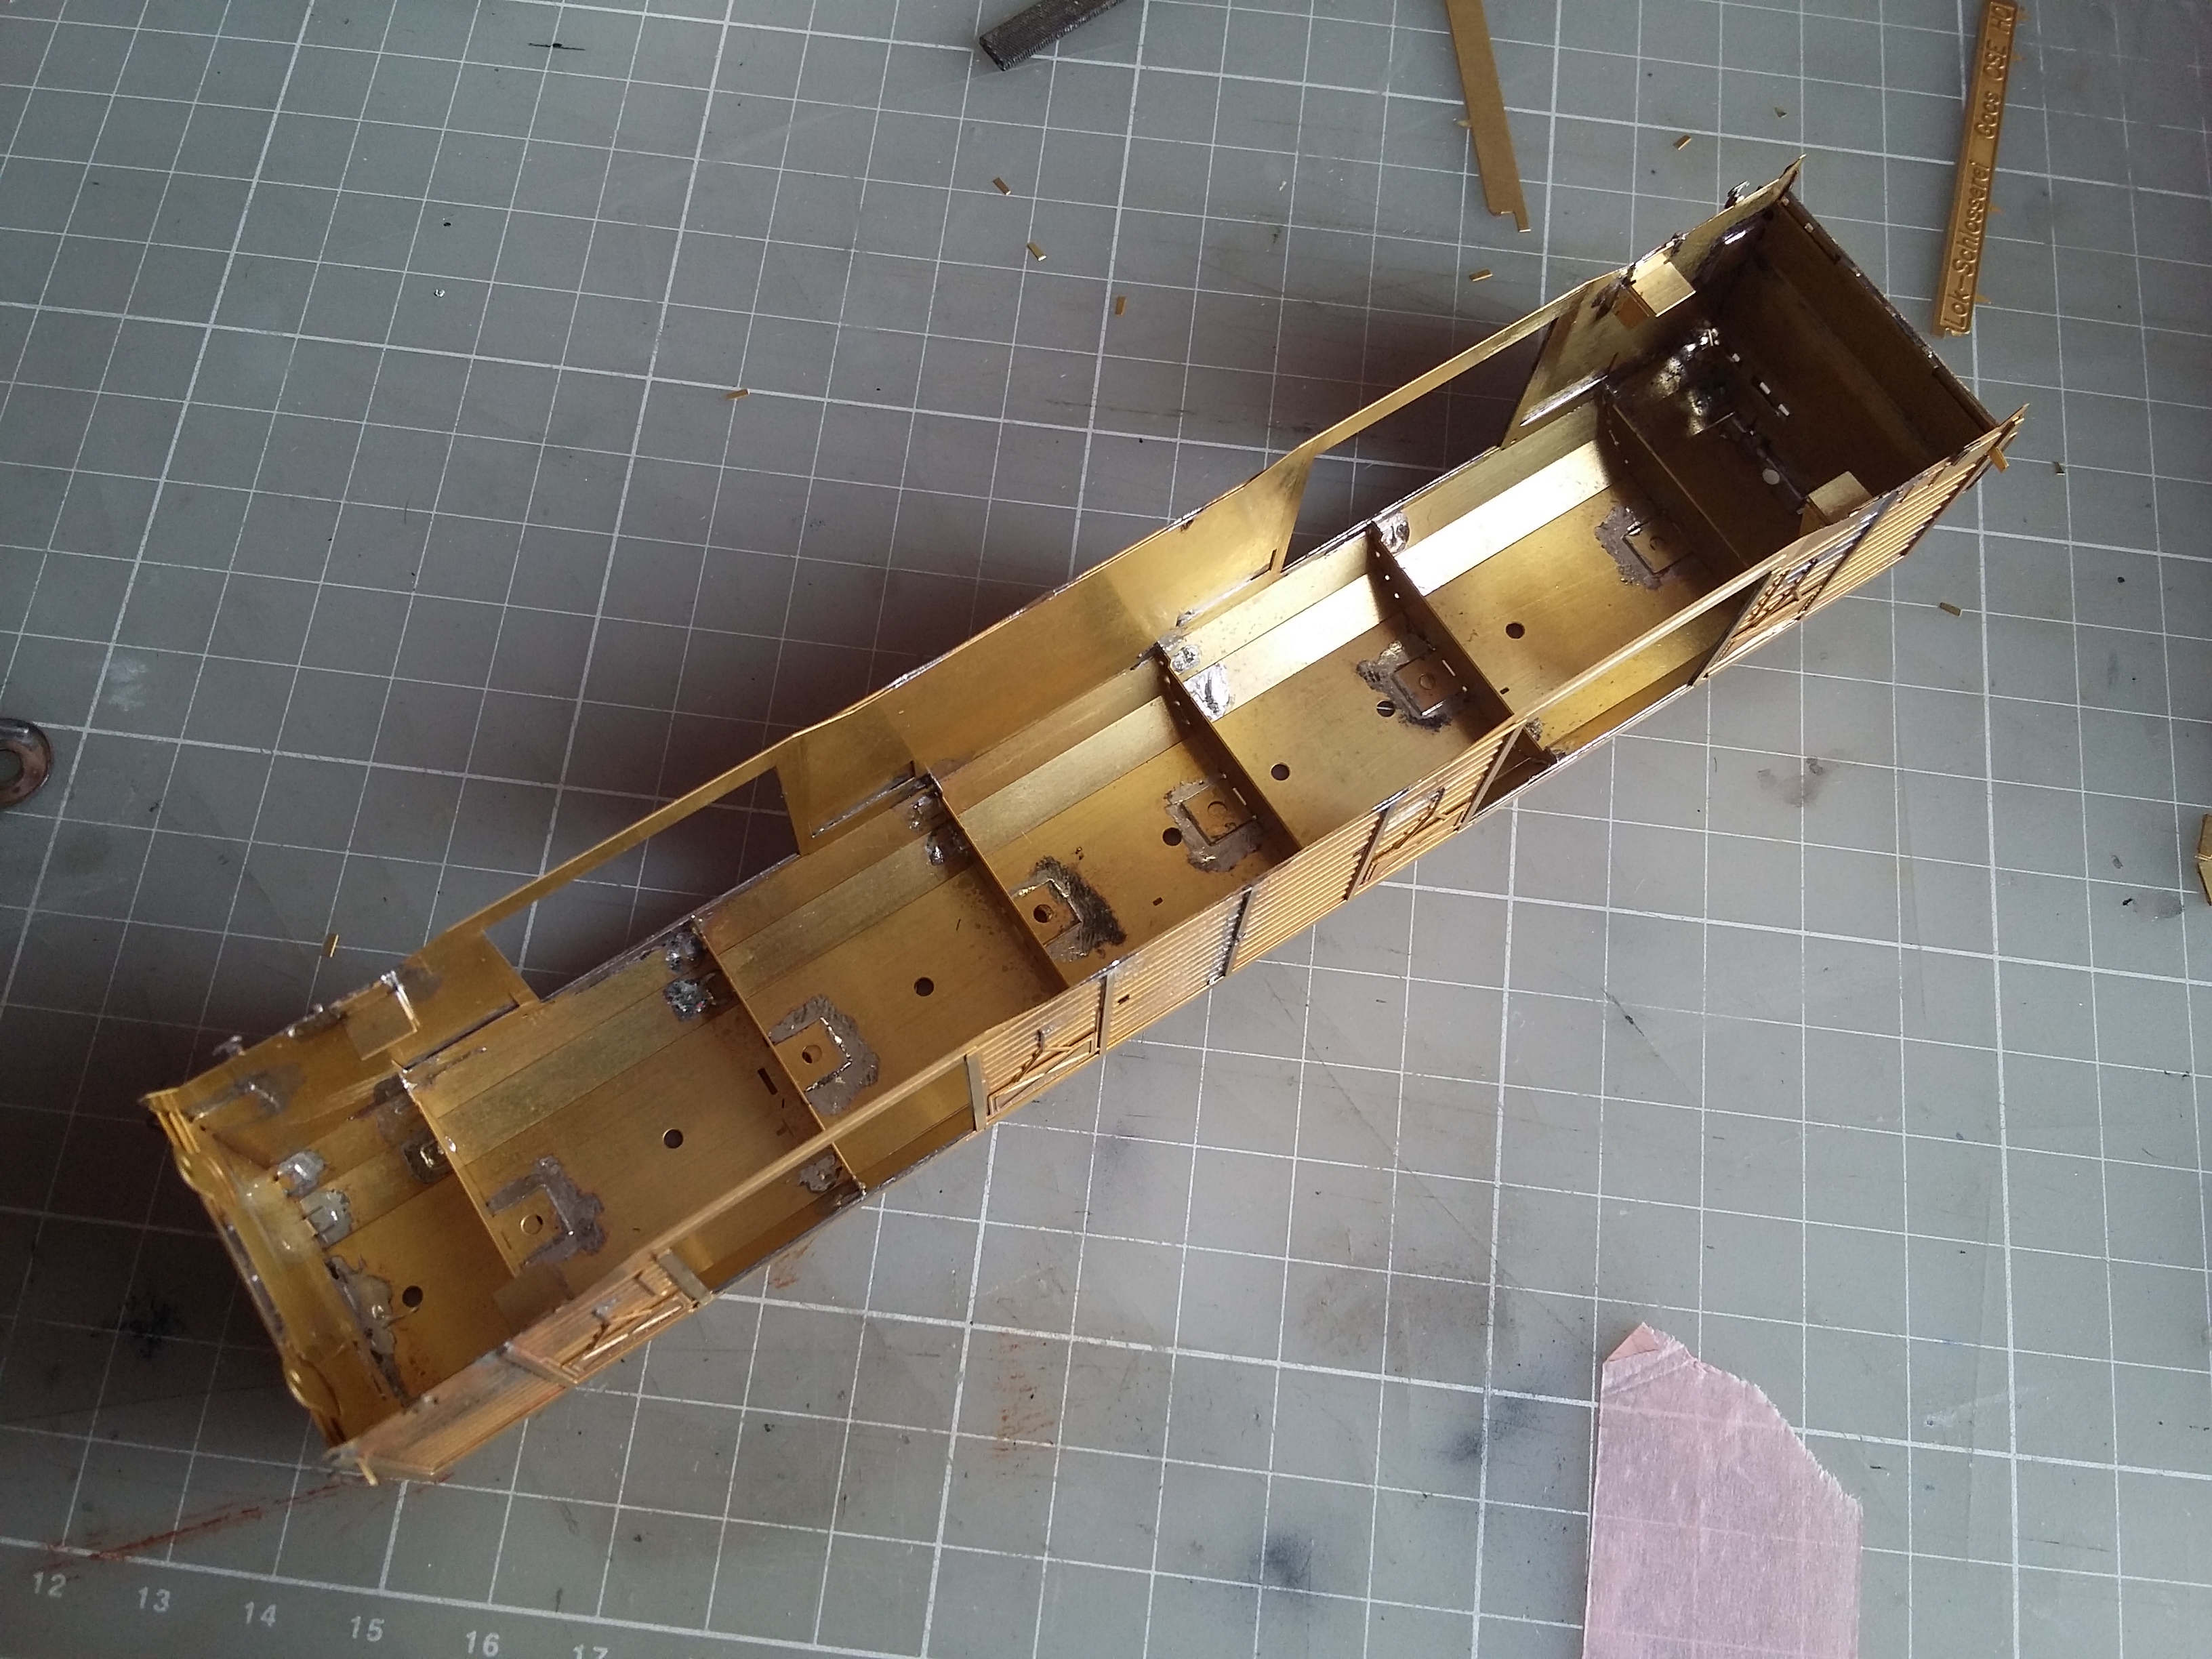
Here you can see the joints. All are from the inside so no cleaning up....remember to press the roof sheets together at the process of soldering in order not to have any gaps....


The Status of the wagon up to this point....

20160403_153606.jpg


I hope you liked it and it will be continued soon.

Cheers
Andreas
User avatar
Andreas
 
Posts: 353
Joined: Tue Jun 11, 2013 3:29 pm
Location: Somewhere in Europe

Re: Z6 Gags-v from Lok Schlosserei/Construction topic

Postby christo » Sun Apr 10, 2016 11:56 am

Andrea,

We are grateful for your sharing these valuable construction notes. You are doing a fine job on realizing these wagon. It is thanks to you that we are going to have some also :D .

christo.
User avatar
christo
 
Posts: 3134
Joined: Wed Jun 05, 2013 3:23 pm
Location: Uckfield, Sussex, U.K

Cleaning up technique

Postby Andreas » Mon Apr 18, 2016 9:25 pm

Hi to all,

I will address with this post the topic of cleaning a brass kit after soldering. It does not matter how good you are with the soldering iron and the amount of solder that you use...eventually you will have residues on your model. If you do not clean them up at the stage of painting these irregularities will show up. Cleaning of a model after soldering can be painful but it pays of once you don't see anything and you have a perfect paint job.

I do the cleaning up in two stages....

20160418_204243.jpg
Stage 1:Cleaning up the residues with a glassfibre pencil...I only scratch the areas that the solder is thicker. Be carefull of the fibers...they tend to stick into the fingers and cannot be removed...painfull...I should wear my gloves next time.


20160418_204253.jpg
Stage 2:Cleaning up and polishing the surface with the proxxon rotary brass brush. Please do that by wearing protective goggles!!!!!!!! This procedures also removes the scratches on the model.


20160418_205151.jpg
The cleaned up model ready for the next stage....do you see any solder left on the outer surface?


Cheers
Andreas
User avatar
Andreas
 
Posts: 353
Joined: Tue Jun 11, 2013 3:29 pm
Location: Somewhere in Europe

Re: Z6 Gags-v from Lok Schlosserei/Construction topic

Postby Andreas » Sun Dec 11, 2022 7:21 pm

The Z6 Kits have long finished, painted and weathered :mrgreen:

IMG_20210321_204248.jpg

Finished painting. I made some extra decals that where missing

IMG_20210531_210253.jpg

After Weathering

Cheers
Andreas
User avatar
Andreas
 
Posts: 353
Joined: Tue Jun 11, 2013 3:29 pm
Location: Somewhere in Europe

Previous

Return to Members Modelling Projects, Layouts & Collections

Who is online

Users browsing this forum: No registered users and 1 guest